
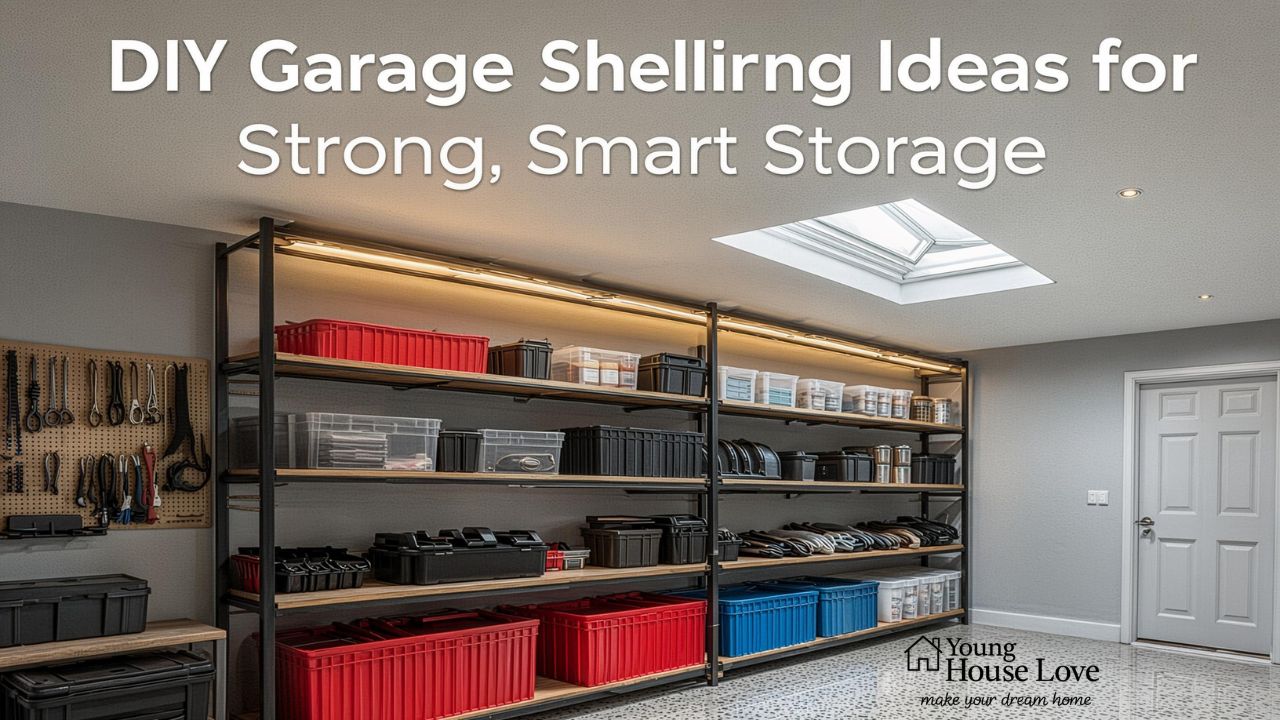
Introduction
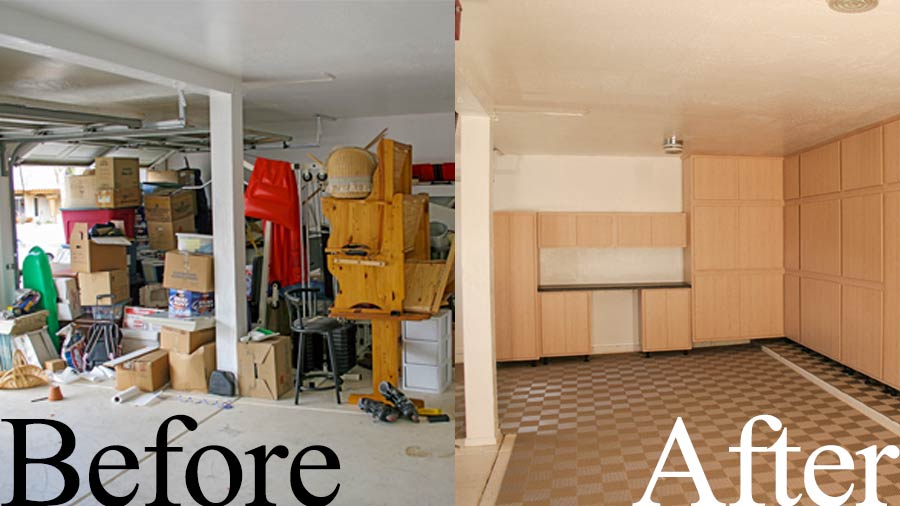
A cluttered garage can quietly steal your time, your space, and your peace of mind. Whether it’s tools scattered across the floor or boxes piled dangerously high, the chaos adds up fast. That’s where diy garage shelving comes in—not just as a project, but as a complete transformation of how your space works for you.
Imagine walking into your garage and instantly finding what you need. No digging, no frustration—just clean, accessible storage. Building your own shelves isn’t just cost-effective; it gives you full control over layout, durability, and style.
In this guide, you’ll learn how to design, build, and optimize shelving that fits your exact needs. Whether you’re a beginner or a seasoned DIYer, this is your blueprint to reclaiming your garage. “Discover Techoelite Smart Homes, where innovation meets comfort. Explore cutting-edge home automation solutions designed for modern living, efficiency, and security.”
Why DIY Garage Shelving Is Worth It
Before grabbing your tools, it helps to understand why building your own shelves is such a game-changer.
Full Customization
Store-bought shelves rarely fit perfectly. With diy garage shelving, you control:
- Height and depth
- Weight capacity
- Layout based on your items
Budget-Friendly Solution
Pre-made systems can be expensive. DIY options:
- Cost significantly less
- Use readily available materials
- Allow upgrades over time
Built to Last
You choose the materials—meaning stronger, longer-lasting shelves compared to flimsy store options.
Planning Your DIY Garage Shelving
A successful project starts with thoughtful planning.
Measure Your Space Carefully

Take note of:
- Wall dimensions
- Ceiling height
- Obstacles like doors or outlets
Sketch your layout. This prevents costly mistakes later.
Decide What You’ll Store
Your shelving design depends on what goes on it:
- Heavy tools → sturdy wood framing
- Lightweight boxes → simpler shelving
- Seasonal items → overhead storage
Choose the Right Location
Ideal spots include:
- Along unused walls
- Above workbenches
- Ceiling-mounted areas
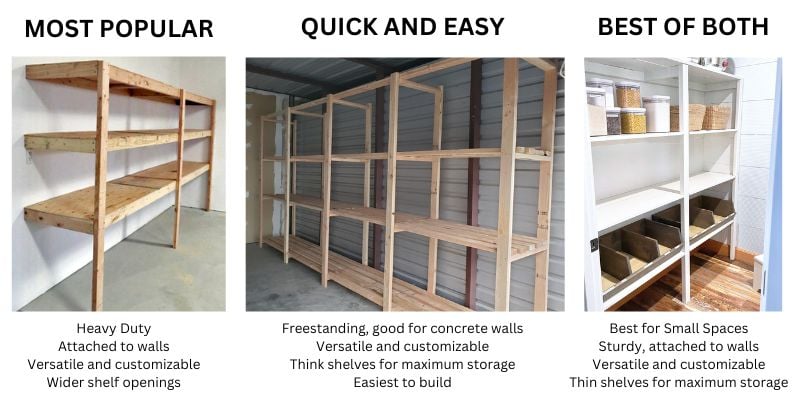
Types of DIY Garage Shelving
Not all shelves are created equal. Here are the most practical types.
Wall-Mounted Shelving
Perfect for maximizing vertical space. These are:
- Strong
- Space-saving
- Easy to customize
Freestanding Shelving Units
Great if you:
- Rent your home
- Want flexibility
- Need movable storage
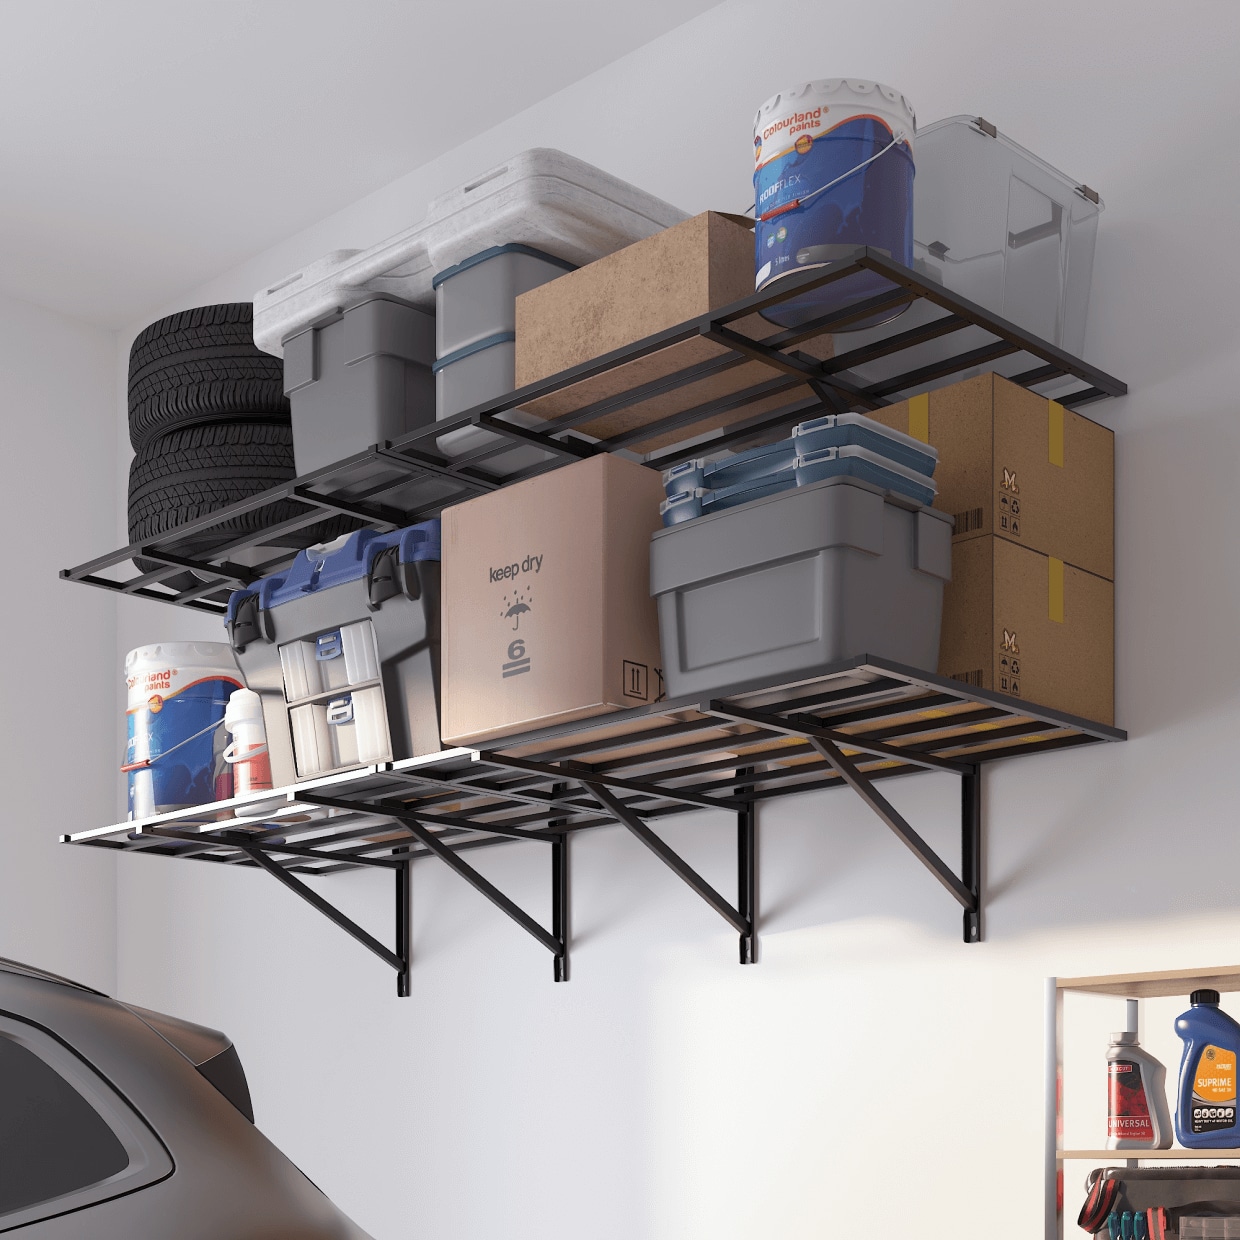
Overhead Storage Shelves
Best for rarely used items like:
- Holiday decorations
- Camping gear
Materials You’ll Need
Choosing the right materials ensures durability.
Wood Options
- Plywood – smooth and strong
- 2×4 lumber – excellent for framing
- OSB boards – budget-friendly
Hardware Essentials
- Screws (not nails for strength)
- Wall anchors or studs
- Brackets (optional)
Tools Checklist
- Drill
- Saw
- Level
- Measuring tape
Step-by-Step Guide to Building DIY Garage Shelving
Let’s break it down into manageable steps.
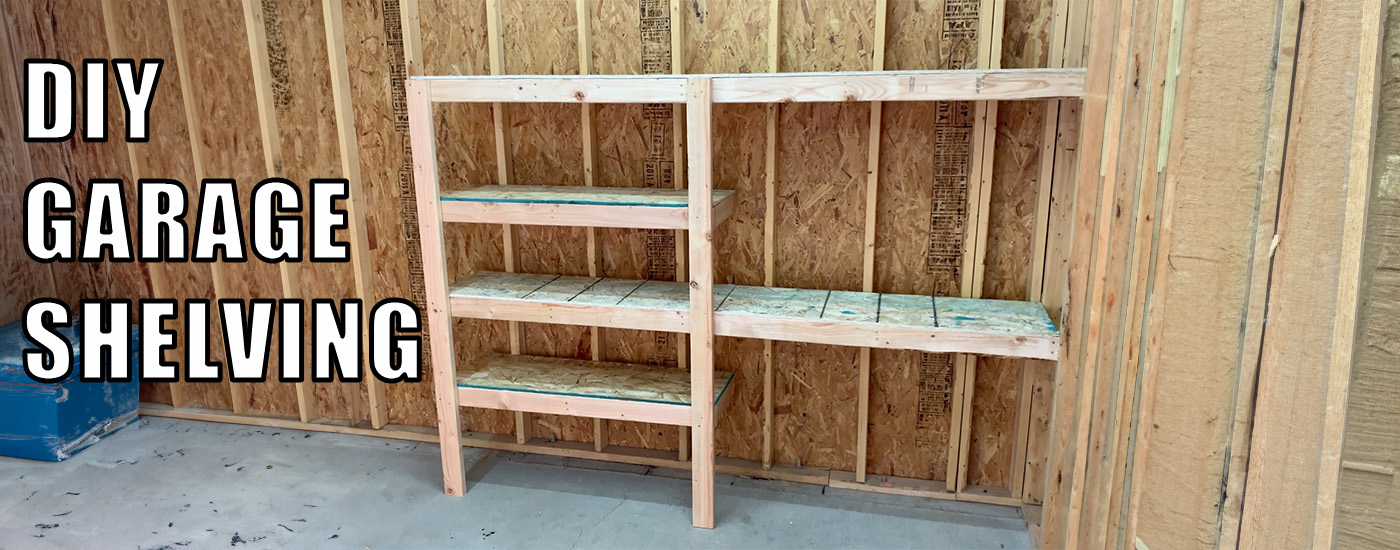
Step 1: Build the Frame
Create a rectangular frame using 2x4s:
- Secure corners tightly
- Double-check measurements
Step 2: Attach Supports
Add vertical supports:
- Every 16–24 inches
- Ensures weight distribution
Step 3: Install the Shelves
Place plywood on top:
- Screw into frame
- Sand edges for safety
Step 4: Mount or Position
- Wall-mounted → anchor into studs
- Freestanding → level and secure
Smart Design Tips for Better Storage
Building shelves is one thing—making them efficient is another.
Use Vertical Space
Don’t stop at eye level. Go up:
- Add multiple tiers
- Store less-used items higher
Label Everything
Save time by labeling:
- Boxes
- Containers
- Sections
Mix Open and Closed Storage
- Open shelves → quick access
- Bins → reduce clutter
Safety Considerations
Safety is critical when working on diy garage shelving.
Weight Limits Matter
Never overload shelves. Check:
- Material strength
- Support spacing
Secure Properly
- Anchor into wall studs
- Use heavy-duty screws
Keep Heavy Items Low
This reduces:
- Risk of falling
- Injury hazards
Budget-Friendly DIY Garage Shelving Ideas
You don’t need a big budget to get great results.
Repurpose Old Materials
Use:
- Scrap wood
- Old cabinets
- Pallets
Build Modular Units
Start small and expand later.
Use Basic Designs
Simple structures are:
- Easier to build
- More affordable
Common Mistakes to Avoid
Even simple projects can go wrong without awareness.
Skipping Measurements
Always measure twice—cut once.
Using Weak Materials
Cheap materials can collapse under weight.
Ignoring Wall Studs
Mounting without studs leads to instability.
Maintaining Your Shelving
Your work doesn’t end after building.
Regular Inspections
Check for:
- Loose screws
- Warping wood
Clean Periodically
Dust and debris can:
- Damage materials
- Reduce usability
Reorganize When Needed
Adjust your layout as your needs evolve.
FAQ
Frequently Asked Questions
What is the best wood for diy garage shelving?
Plywood and 2×4 lumber are ideal due to strength, affordability, and ease of use.
How much weight can garage shelves hold?
It depends on design, but properly built shelves can hold 200–600 lbs per level.
Can beginners build diy garage shelving?
Yes, with basic tools and a clear plan, beginners can complete this project successfully.
How deep should garage shelves be?
Typically 16–24 inches, depending on storage needs.
Is it cheaper to build or buy garage shelves?
Building is usually cheaper and allows better customization.
Should shelves be attached to the wall?
For safety and stability, wall attachment is highly recommended.
How long does it take to build garage shelving?
Most projects can be completed within a day or weekend.
Can I use metal instead of wood?
Yes, but wood is easier for DIY and more budget-friendly.
Conclusion
Transforming your garage doesn’t require expensive systems or professional help. With diy garage shelving, you can create a space that’s organized, efficient, and tailored exactly to your lifestyle.
From planning and materials to construction and maintenance, every step puts you in control of your space. More than just storage, it’s about reclaiming functionality and making your garage work for you—not against you.
Start simple, build smart, and enjoy the satisfaction of a cleaner, more usable garage.