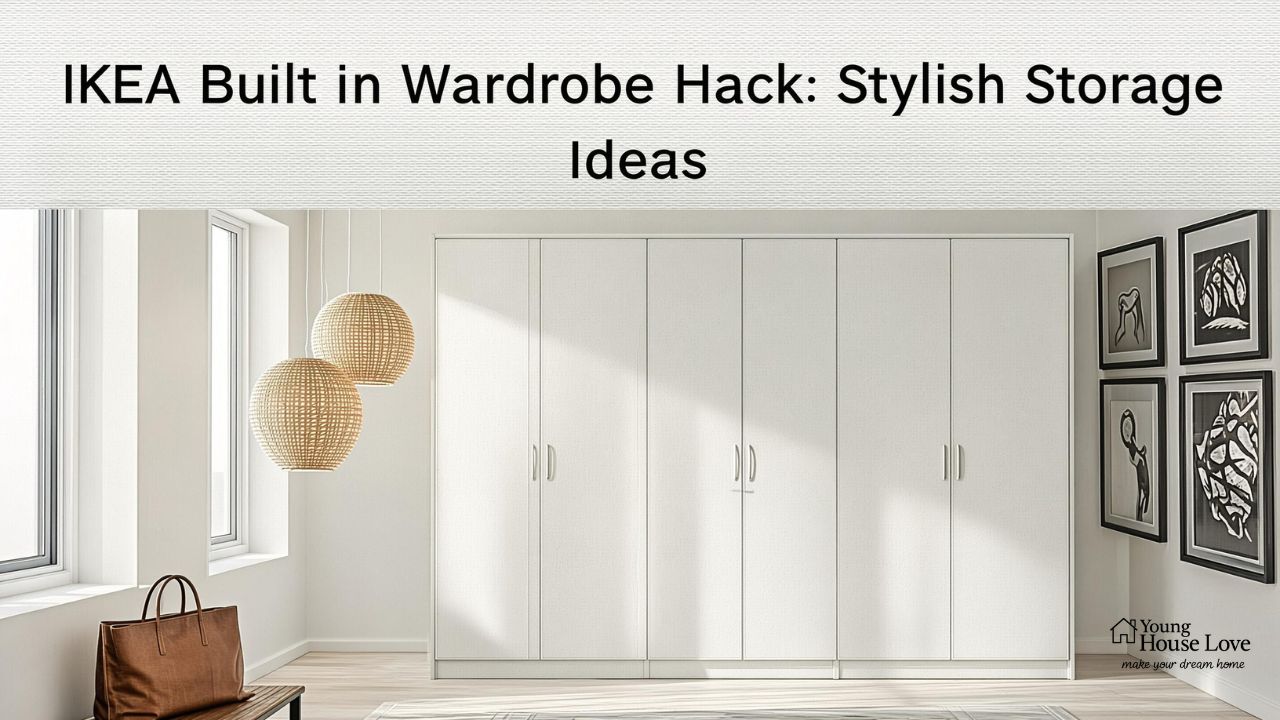
Introduction
There’s something deeply satisfying about walking into a bedroom that feels custom-designed—clean lines, seamless storage, and everything exactly where it should be. That’s where the ikea built in wardrobe hack comes in, turning affordable flat-pack furniture into a high-end, tailored look.
If you’ve ever wished for a bespoke wardrobe but couldn’t justify the cost, you’re not alone. Built-in wardrobes can be expensive, but with a little creativity and the right approach, you can achieve the same polished finish without breaking the bank.

This guide will walk you through everything you need to know—from planning and design to execution and finishing touches—so your wardrobe looks like it was always meant to be there.
What Is an IKEA Built-In Wardrobe Hack?
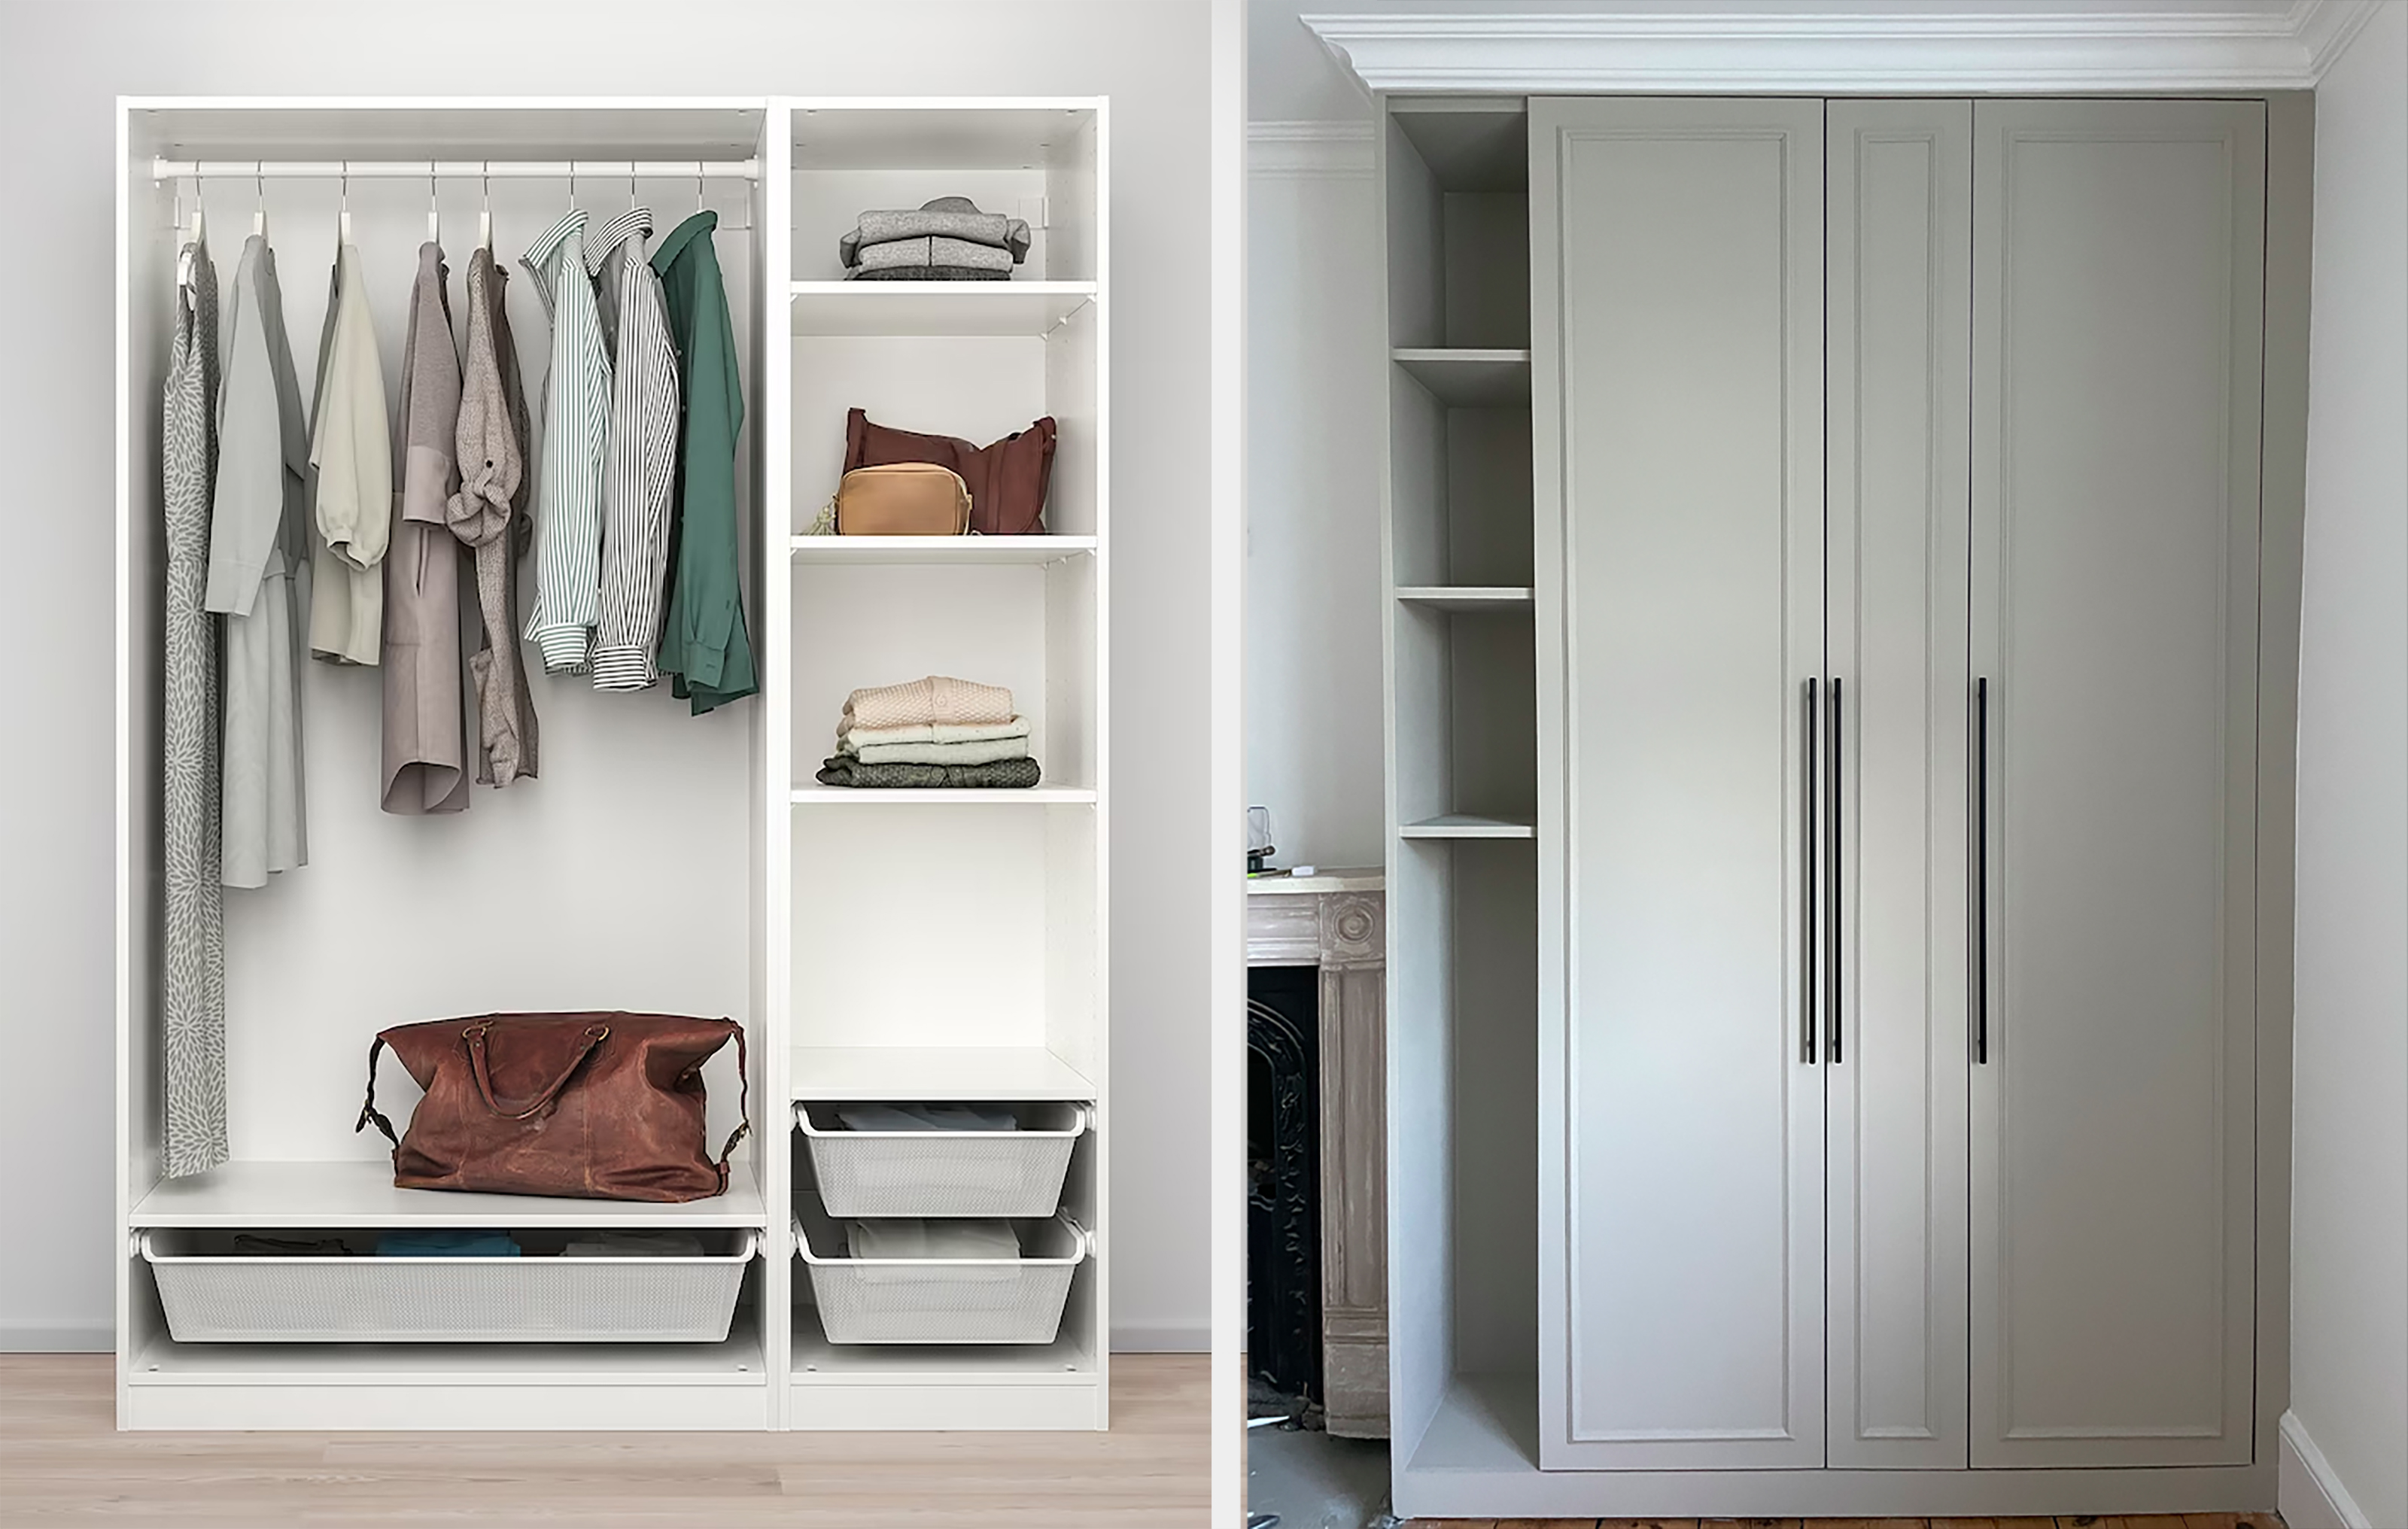
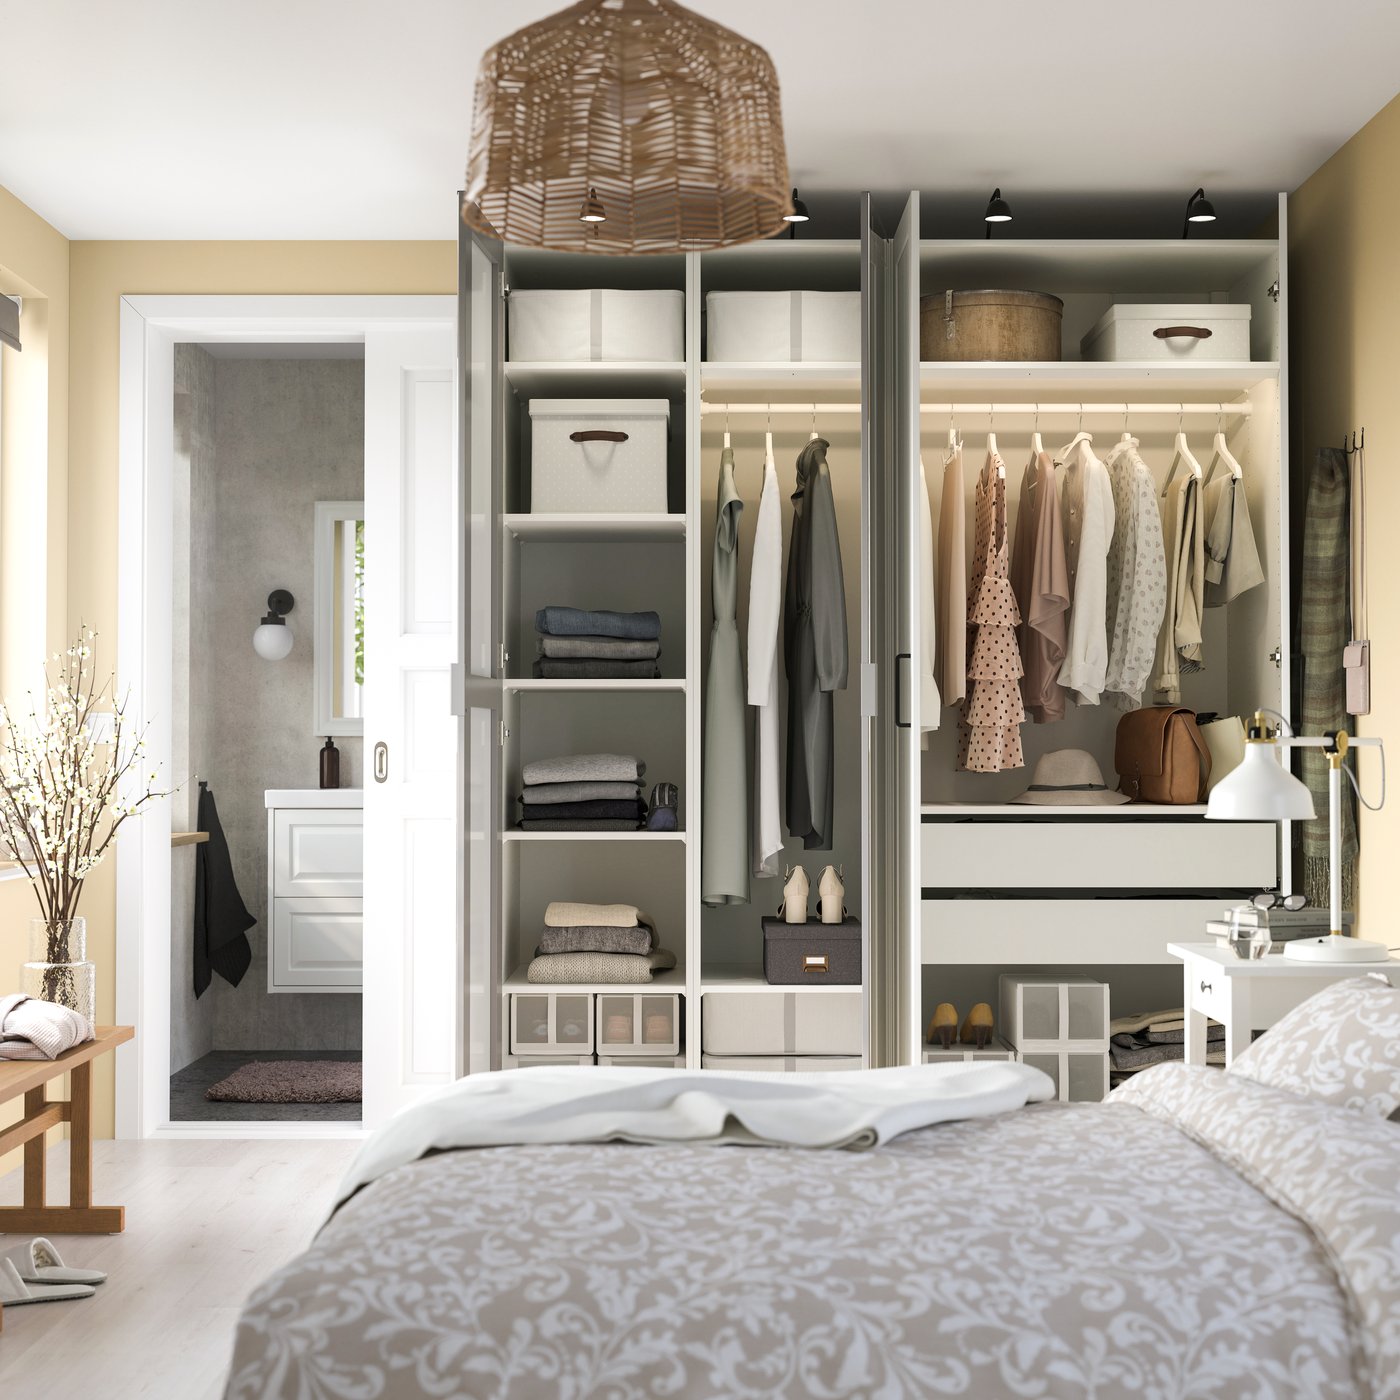
An ikea built in wardrobe hack is the process of customizing standard IKEA wardrobe systems—most commonly the PAX system—to make them appear built into your room’s architecture.
Instead of a freestanding unit, the wardrobe is integrated into the wall with added panels, trims, and finishes. The result? A seamless, high-end look that mimics custom carpentry.
Why It’s So Popular
- Budget-friendly alternative to custom wardrobes
- Highly customizable layouts
- Perfect for awkward spaces or alcoves
- Endless design possibilities
Planning Your IKEA Built In Wardrobe Hack
Before you start assembling anything, proper planning is essential. This step determines how “built-in” your wardrobe will actually look.
Measure Your Space Carefully
Take precise measurements of:
- Wall width and height
- Ceiling height
- Depth available
- Obstacles like radiators, sockets, or windows
Even small gaps can affect the final look, so accuracy matters.
Choose the Right IKEA System
The PAX system is the most popular choice because:
- It comes in multiple sizes
- Offers flexible interiors
- Works well with customization
However, smaller rooms might benefit from PLATSA or BRIMNES units.
Design Ideas for a Seamless Built-In Look
The magic of an ikea built in wardrobe hack lies in the details. Here’s how to elevate your design.
Floor-to-Ceiling Installation
To achieve a built-in feel:
- Extend wardrobes to the ceiling
- Use filler panels for gaps
- Add crown molding at the top
This removes the “floating furniture” look.
Wall-to-Wall Integration
If your space allows:
- Install wardrobes across the entire wall
- Fill side gaps with panels or MDF
- Paint everything the same color

This creates a cohesive, custom appearance.
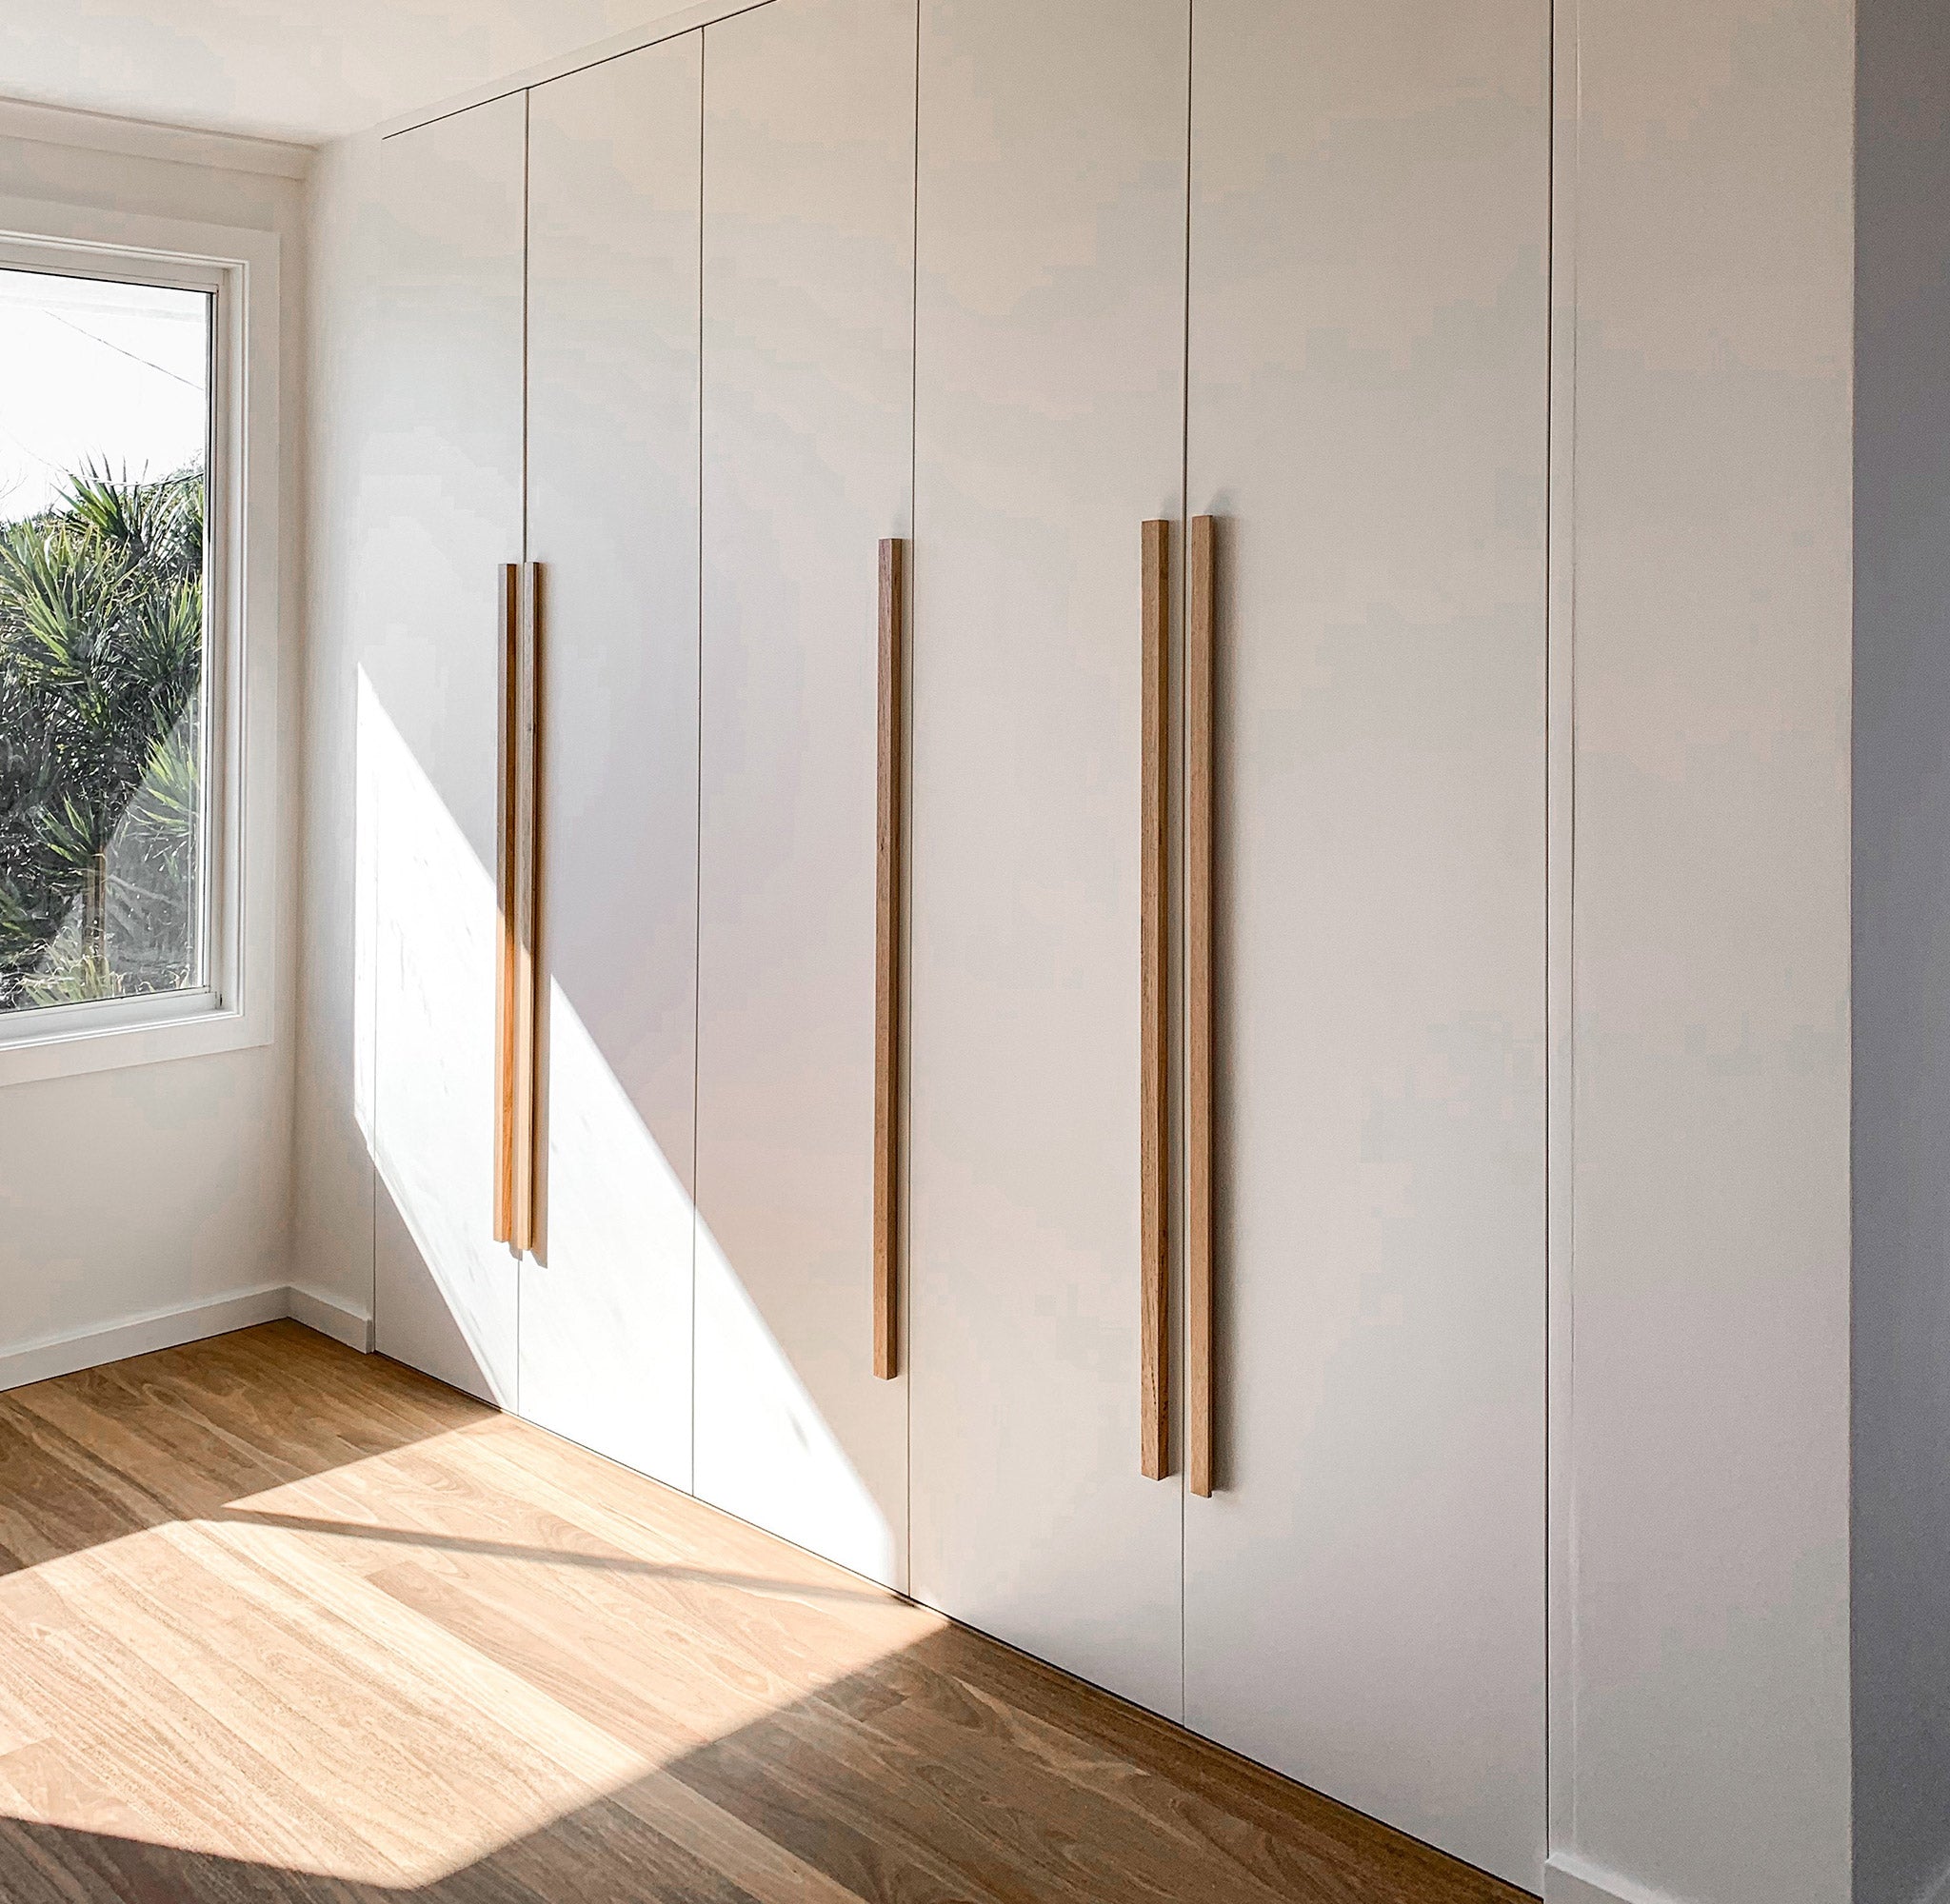
Add Custom Doors
Swap standard IKEA doors for:
- Shaker-style panels
- Fluted designs
- Mirror or glass finishes
This instantly upgrades the overall aesthetic.
Step-by-Step IKEA Built In Wardrobe Hack
Here’s a simplified process to bring your vision to life.
1. Assemble the Wardrobe Frames
Start by building the IKEA frames according to instructions. Leave doors off for now.
2. Position and Secure Units
- Align units perfectly
- Fix them to the wall for stability
- Ensure everything is level
3. Fill Gaps and Add Panels
Use MDF or plywood to:
- Cover side gaps
- Extend units to the ceiling
- Create a flush finish
4. Install Trim and Molding
This is where the transformation happens:
- Add baseboards at the bottom
- Crown molding at the top
- Vertical trims between units
5. Paint for a Unified Look
Paint everything—wardrobes, panels, trims—in the same color to blend seamlessly.
Budget Breakdown and Cost Savings
One of the biggest advantages of an ikea built in wardrobe hack is cost efficiency.
Typical Costs
- IKEA PAX frames: $200–$800
- Doors: $100–$500
- MDF panels & trims: $100–$300
- Paint & tools: $50–$150
Compared to Custom Built-Ins
Custom wardrobes can cost anywhere from $2,000 to $10,000+. With this hack, you can achieve a similar look for a fraction of the price.
Common Mistakes to Avoid
Even a great idea can fall short without proper execution.
Ignoring Ceiling Height
Leaving a gap above the wardrobe makes it look unfinished. Always plan for ceiling coverage.
Skipping Anchoring
Freestanding units can shift. Secure everything to the wall for safety and stability.
Poor Paint Matching
If the wardrobe color doesn’t match the wall, the illusion of a built-in disappears.
Styling Your Finished Wardrobe
Once your ikea built in wardrobe hack is complete, styling makes all the difference.
Add Lighting
- LED strip lights inside shelves
- Spotlights above units
- Warm lighting for a cozy feel
Upgrade Handles
Swap standard handles for:
- Brass finishes
- Matte black
- Leather pulls
Keep It Minimal
A built-in wardrobe shines when it looks clean and uncluttered. Stick to a simple, cohesive style.
Is This Hack Right for You?
This approach is ideal if:
- You want a high-end look on a budget
- You enjoy DIY projects
- You need custom storage without custom pricing
However, it may not be suitable if you’re renting or unable to modify walls.
FAQ
What is the best IKEA system for a built-in wardrobe hack?
The PAX system is the most versatile and widely used for an ikea built in wardrobe hack due to its size options and customization features.
Can beginners do this project?
Yes, with patience and basic tools. Many steps are straightforward, though precision is key.
How long does it take to complete?
Typically 1–3 days depending on complexity, skill level, and finishing details.
Do I need professional tools?
Not necessarily. Basic tools like a drill, saw, and level are usually enough.
Can I remove it later?
Yes, but modifications like trims and paint may require repairs to walls.
Is painting IKEA furniture difficult?
It requires proper preparation, including sanding and priming, but it’s manageable with the right steps.
How do I make it look truly built-in?
Focus on filling gaps, adding molding, and using consistent paint across the entire installation.
Can I use this hack in small rooms?
Absolutely. In fact, it’s perfect for maximizing storage in compact spaces.
Conclusion
The beauty of an ikea built in wardrobe hack lies in its ability to bridge the gap between affordability and luxury. With thoughtful planning, careful execution, and attention to detail, you can transform ordinary furniture into something that feels completely custom.
Whether you’re redesigning a bedroom or simply looking for smarter storage, this approach offers flexibility, style, and impressive results. And once it’s done, it won’t just look like furniture—it’ll feel like part of your home.